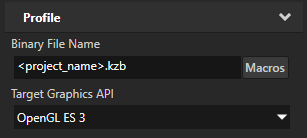
You set the target graphics API because the shaders you create in this step use the OpenGL ES 3 syntax.
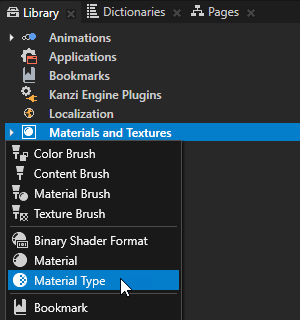
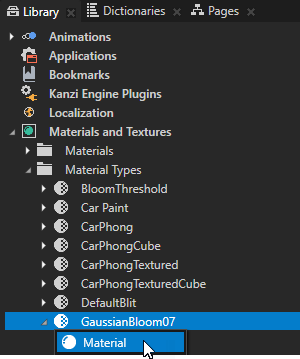
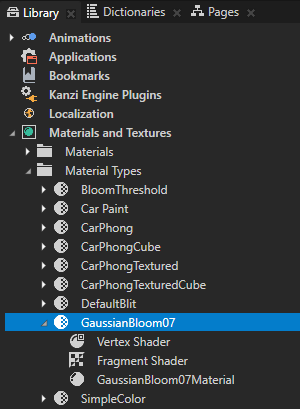
- In the Library press Alt and right-click Materials and Textures, select Material Type, and name it GaussianBloom07.
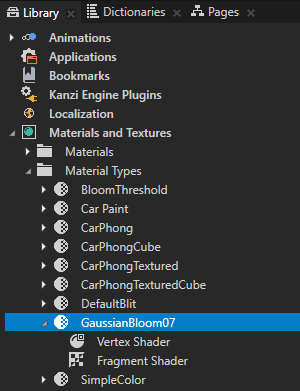
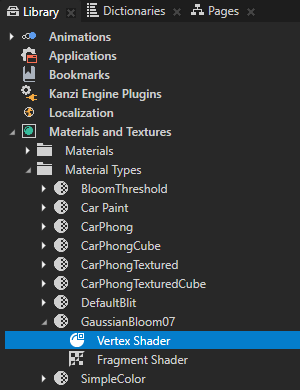
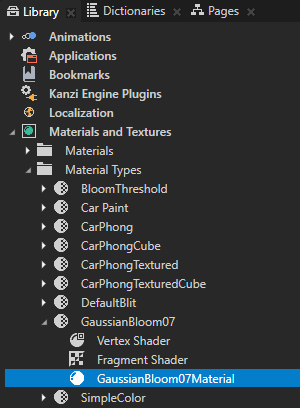
- In the Library in the GaussianBloom07 material type double-click the Vertex Shader to open it in the Shader Source Editor.
- In the Shader Source Editor replace the content of the vertex shader file with the shader code in this step and click Save.
#version 300 es precision mediump float; in vec3 kzPosition; in vec2 kzTextureCoordinate0; uniform highp mat4 kzProjectionCameraWorldMatrix; out mediump vec2 vTexCoord; void main() { vTexCoord = kzTextureCoordinate0; gl_Position = kzProjectionCameraWorldMatrix * vec4(kzPosition.xyz, 1.0); } - In the Library in the GaussianBloom07 material type double-click the Fragment Shader to open it in the Shader Source Editor, replace the content of the fragment shader file with the shader code in this step, and click Save.
This fragment shader implements the bloom effect using a directional Gaussian blur with a 7-sample kernel.#version 300 es precision mediump float; in vec2 vTexCoord; uniform sampler2D Texture0; uniform float kzTextureWidth0; uniform float kzTextureHeight0; // Defines the direction (x or y axis) along which to apply the blur. uniform lowp vec2 BlurDirection; // Determines the strength of the blur. uniform float BlurRadius; uniform float BlendIntensity; // Determines the intensity of the bloom. uniform float Intensity; out vec4 outColor; // Defines the one-dimensional Gaussian kernel with 7 samples. const float GAUSSIAN_KERNEL[7] = float[7] ( 0.028116, 0.102883, 0.223922, 0.290156, 0.223922, 0.102883, 0.028116 ); vec4 gaussianBlur(mediump vec2 coord, lowp vec2 dir) { vec2 texel = vec2(kzTextureWidth0, kzTextureHeight0); vec4 sum = vec4(0.0); // Get the original texture coordinate for this fragment. vec2 tc = coord; // Get the amount to blur. float blur = BlurRadius; // Set the amount of blur in the horizontal direction. float hstep = dir.x * texel.x * blur; // Set the amount of blur in the vertical direction. float vstep = dir.y * texel.y * blur; // Sample the texture for every fragment as many times as there are samples in the Gaussian kernel. for(int i = 0; i< GAUSSIAN_KERNEL.length(); i++) { float pixelOffset = (float(i) - floor(float(GAUSSIAN_KERNEL.length()) * 0.5)); sum += texture(Texture0, vec2(tc.x + pixelOffset * hstep, tc.y + pixelOffset * vstep)) * GAUSSIAN_KERNEL[i]; } return sum * Intensity; } void main() { vec4 retColor = gaussianBlur(vTexCoord, BlurDirection); outColor = retColor; } - In the Library select the GaussianBloom07 material type and in the Properties click Sync with Uniforms to create and add the properties you defined in the shaders to this material type and the materials that use it.
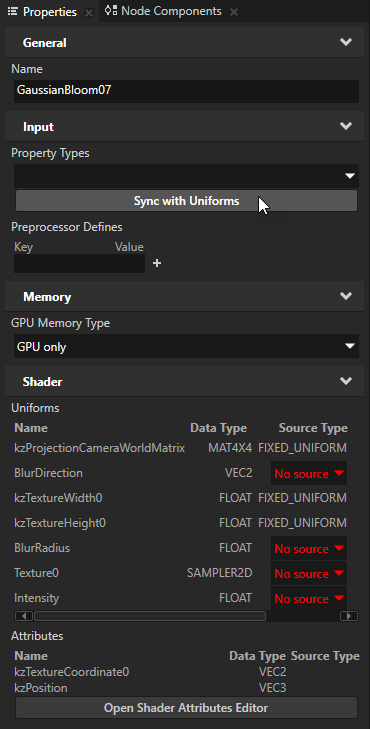
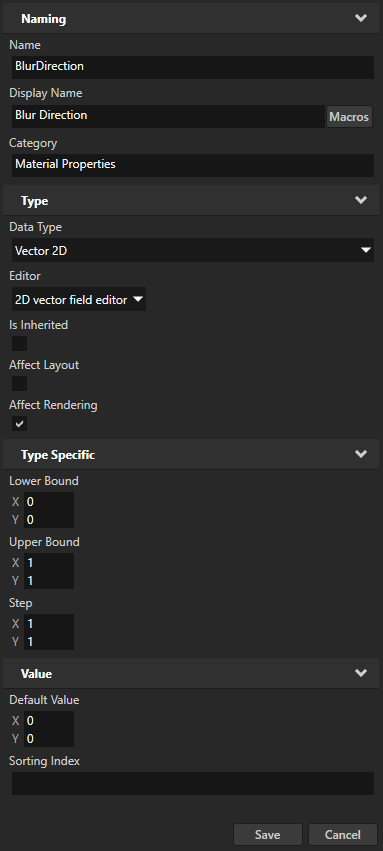
- In the Create Property Type dialog click Yes to create the custom property type BlurDirection, in the Property Type Editor window set:
- Display Name to Blur Direction
- Upper Bound property fields X and Y to 1
You use this property type to set the direction in which a render pass applies the blur effect.
- In the Create Property Type dialog click Yes to create the custom property type BlurRadius and in the Property Type Editor window set:
- Display Name to Blur Radius
- Upper Bound to 5
- Default Value to 1
You use this property type to set the strength of the blur effect.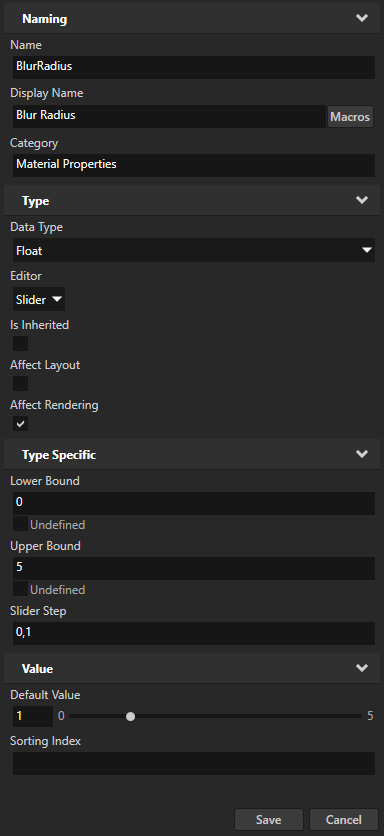
- In the Create Property Type dialog click Yes to create the custom property type Intensity, in the Property Type Editor window set the Upper Bound to 10, and click Save.
You use this property type to set the intensity at which a render pass applies the bloom effect.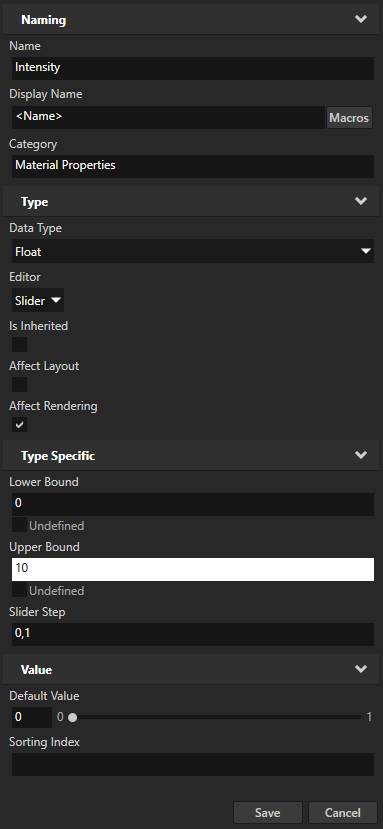
- In the Library > Materials and Textures > Material Types press Alt and right-click GaussianBloom07, select , and name the material GaussianBloom07Material.
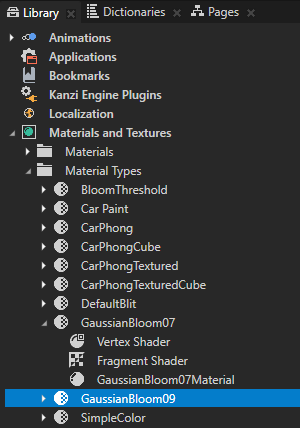
- In the Library > Materials and Textures > Material Types select the GaussianBloom07, press the Ctrl D to duplicate the material type, press the F2 key, and rename the new material type to GaussianBloom09.
- In the Library in the GaussianBloom09 material type double-click the Fragment Shader to open it in the Shader Source Editor, and in the Shader Source Editor replace
// Defines the one-dimensional Gaussian kernel with 7 samples. const float GAUSSIAN_KERNEL[7] = float[7] ( 0.028116, 0.102883, 0.223922, 0.290156, 0.223922, 0.102883, 0.028116 );with// Defines the one-dimensional Gaussian kernel with 9 samples. const float GAUSSIAN_KERNEL[9] = float[9] ( 0.028532, 0.067234, 0.124009, 0.179044, 0.20236, 0.179044, 0.124009, 0.067234, 0.028532 );Save the shader file.
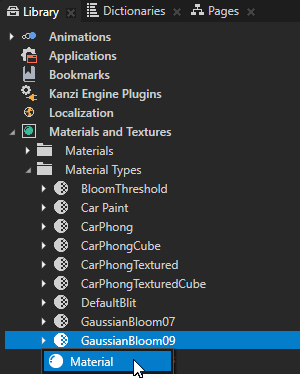
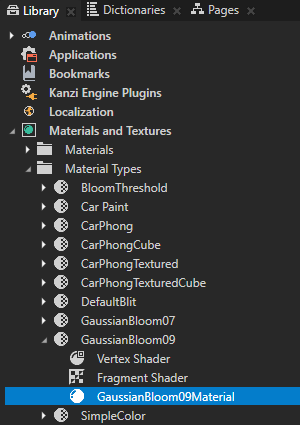
This way you add two more samples to the Gaussian blur kernel. - In the Library > Materials and Textures > Material Types press Alt and right-click the GaussianBloom09, select , and name the material GaussianBloom09Material.
- For the blur with 13 samples name the material type GaussianBloom13, the material GaussianBloom13Material, and in the Fragment Shader use:
// Defines the one-dimensional Gaussian kernel with 13 samples. const float GAUSSIAN_KERNEL[13] = float[13] ( 0.009329, 0.022234, 0.045248, 0.078632, 0.116686, 0.147866, 0.160011, 0.147866, 0.116686, 0.078632, 0.045248, 0.022234, 0.009329 ); - For the blur with 15 samples name the material type GaussianBloom15, the material GaussianBloom15Material, and in the Fragment Shader use:
// Defines the one-dimensional Gaussian kernel with 15 samples.
const float GAUSSIAN_KERNEL[15] = float[15]
(
    0.00332,    0.009267,    0.022087,    0.044948,    0.078109,    0.115911,    0.146884,    0.158949,
    0.146884,   0.115911,    0.078109,    0.044948,    0.022087,    0.009267,    0.00332
);
